Sony VAIO VGN-CS11Z/R (2009) comes with Windows Vista Home Premium but ready to upgrade into Windows 7 that been introduce later in 2009.
Here Spec of CS11Z/R (VAIO CS Series European Version)
Processor: Intel Core 2 Duo P8400 (2.2GHz)
Graphics Adapter: NVIDIA GeForce 9300M GS
Memory: 4GB RAM, 250GB HDD
Display: 14.1 inch, 16:10, 1280x800 pixels, glossy: yes
Weight: 2.6kg
Price at Launch: 1200 euro
Important Note / Disclaimer :
* if you willing to lose all Sony Utilities, Bloatware,Sony's Software and a few special features/button... then go a head with upgrading to Windows 8 or 8.1. What you get is clean Windows8 or 8.1 OS environment with almost all of the drivers included *
---------------------------------------------------------------------------------------------------------------------------------
Preparation :
1. This step is mandatory :
BACK UP your DATA (into DVD / External HDD / Memory Cards / USB Drive), I'm prefer CD/DVD.
2. Option A: your current running OS is any version Windows XP or Vista, please refer to my previous post/guide ( )
In Windows XP/Vista environment, you cannot upgrade Windows 8.1 without upgrading to Windows 7 first (if you need to keep your Windows XP/Vista's data and setting).
3. Option B: now you're running Windows 7, either Starter or Home or Pro or Ultimate. This option just simple, you can download Windows 8 Upgrade Assistant from Microsoft Website then follow it clear click by click instruction
Basically Windows 8 Upgrade Assistant will check your hardware and software that it will compatible with Windows 8 or 8.1, then you will be direct to Microsoft Store to Buy Download Version of Windows 8.
4. Just incase, here below you can download drivers and utilities this VAIO CS Series need/require for Windows 8.1. Then put it into USB Drive or Memory Card
Download Link : https://www.dropbox.com/s/wklojwt5njcbsum/Win8.rar?dl=0
5. Burn .ISO Files (Windows 8.1) that you download from Microsoft Store, here below video guide to download, convert and burn Windows 8.1 into DVD.
---------------------------------------------------------------------------------------------------------------------------------
Installation Process :
Here below HD Video Step by Step the Installation Process
Part 1 : Windows 8.1 Pro Installation
Part 2 : Configuration and Setting
Part 3 : Install Missing Drivers and Utilities
---------------------------------------------------------------------------------------------------------------------------------
Now in words :
Step 1: Insert Windows 8.1 Installation DVD and Restart Computer (USB Drive contain CS Series Drivers and Utilities remain attach to the computer)
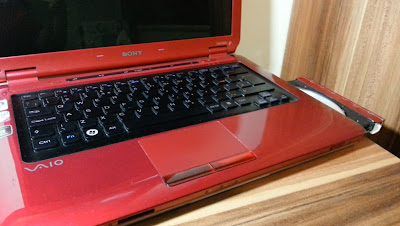 |
| Insert DVD and ON / Restart Computer |
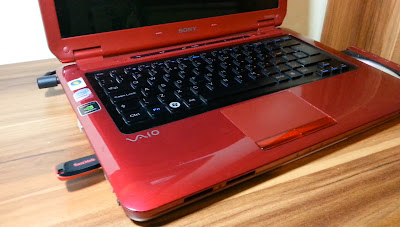 |
| Driver & Utilities ready in USB Drive |
Step 2: Install Windows 8.1 Pro as shown in video above (Part1 :
http://youtu.be/lvgs7F9GKU8.)
Installation process almost similar with installation of previous Windows Vista or Windows 7
To Clean Install, suggested to FORMAT current drive
(WARNING : you will lose all data/setting/windows OS by formatting your current drive containing OS and DATA)
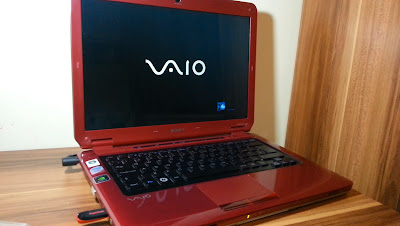 |
| Start with here |
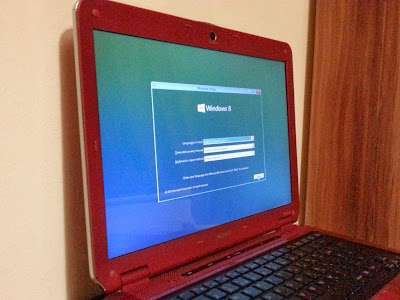 |
| Windows 8.1 Setup Start Up |
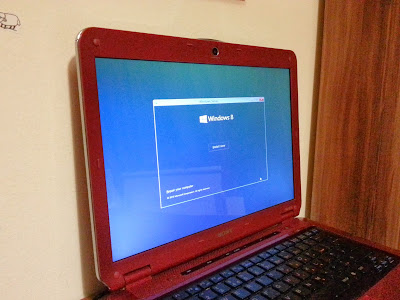 |
| Just Click Install Now |
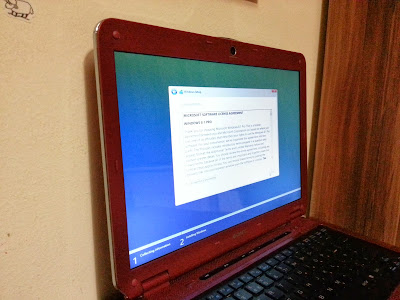 |
| Accept Small Print |
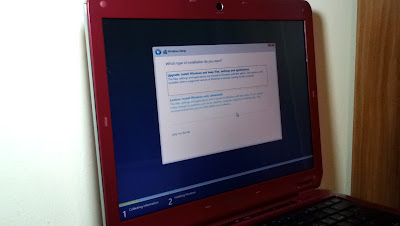 |
| Select Customize |
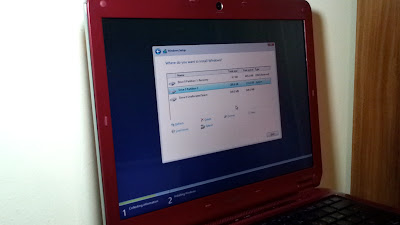 |
| Select Partition |
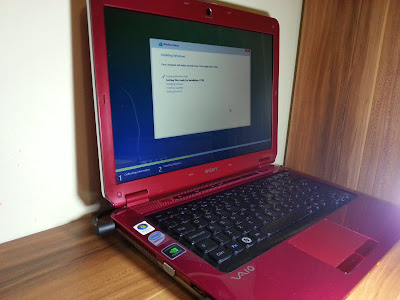 |
| Now Windows Installation in Progress (same like Win 7) |
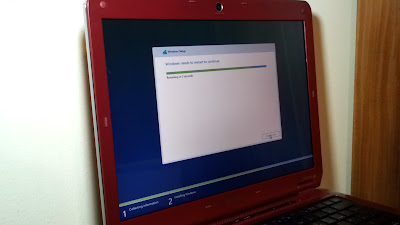 |
| Now 1st Restart |
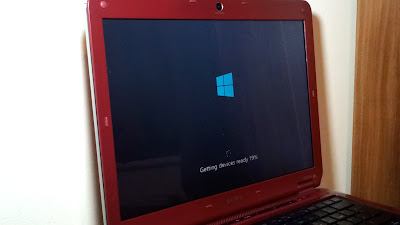 |
| Then getting device ready |
Step 3: Now Personalise your Windows 8.1 Machine
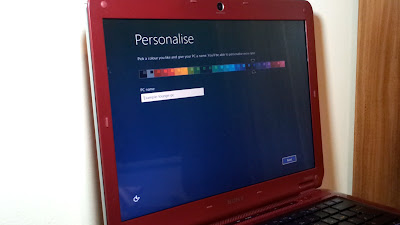 |
| Enter Pc Name |
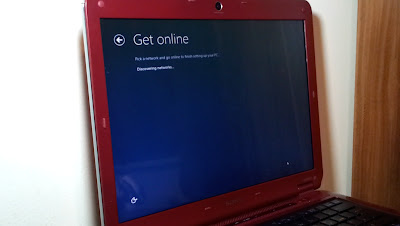 |
Connect to Internet (I'll skip this process),.
By skip this process you don't need to enter your Microsoft Live Account info |
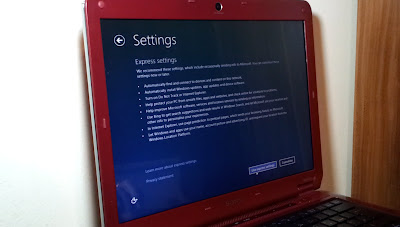 |
| Select Express Setting |
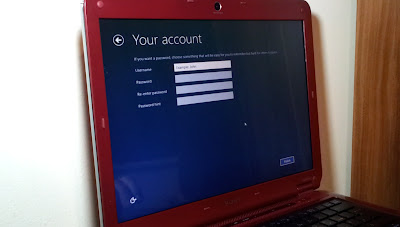 |
| Setup User Account (leave password blank here will start Windows without login page) |
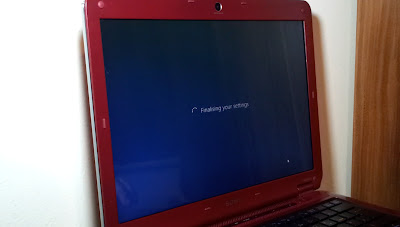 |
| Now we nearly there |
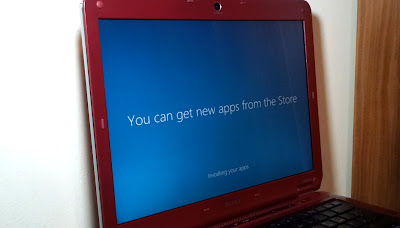 |
| Windows Installing build in apps |
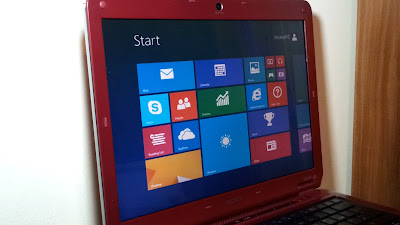 |
| Now we ready |
Step 4: As Part 2 in video (Part 2 :
http://youtu.be/8KGhY2mG5DU)
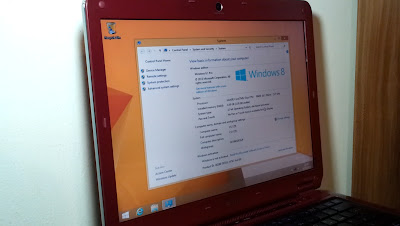 |
| Here Welcome Windows 8.1 Pro on Sony Vaio CS11Z/R |
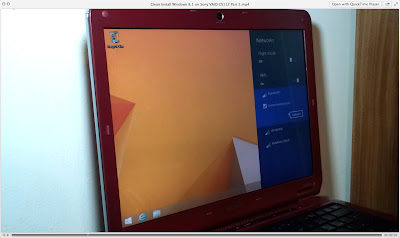 |
| Now time to get it online |
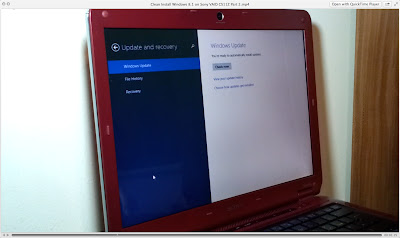 |
| Then, check for update |
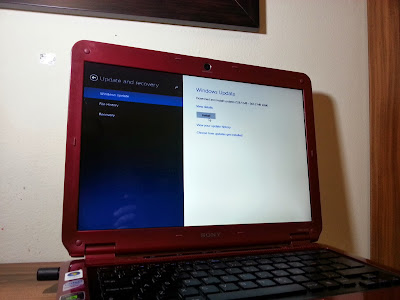 |
| Here you are, about 360MB of updates require |
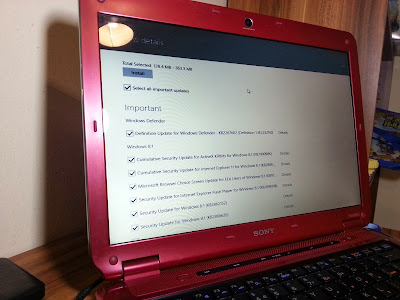 |
| Here updates details, look like most of the updates for Windows 8.1 |
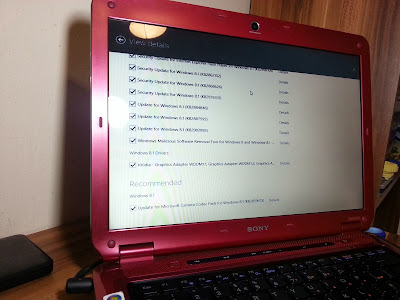 |
| There are also update for the hardware (graphic, camera) |
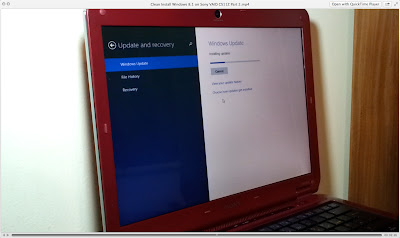 |
| Installing updates |
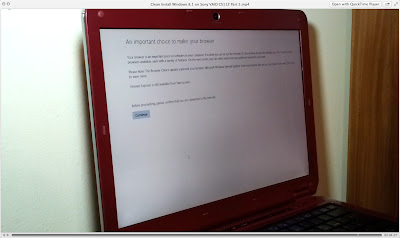 |
| At start up, need to choose browser |
Step 5: Here the most important part for Sony Vaio CS Series, as in last part of video
(Part 3 :
http://youtu.be/P9_xUTF-Uco)
First Install Missing Driver, 2 drivers missing in Windows 8.1. Sony Firmware Extension Parser Device and Memory Card Reader by Ricoh.
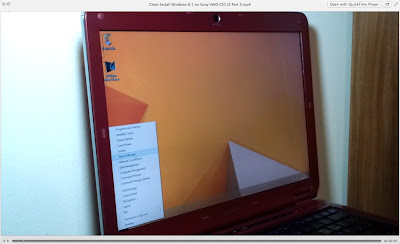 |
| Right Click on Windows Logo and select Device Manager |
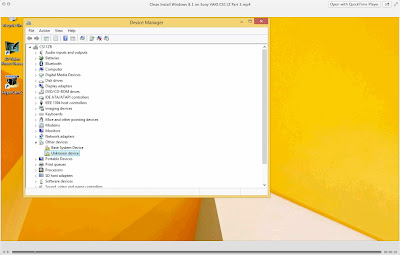 |
| 2 devices with yellow mark |
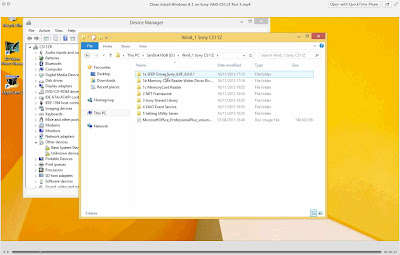 |
| For "unkown device" point driver to SFEP Driver |
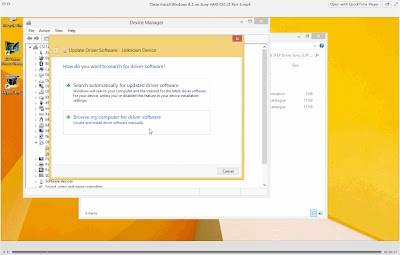 |
| Select "Browse my computer for driver software" |
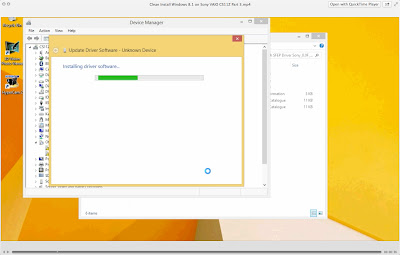 |
| Installing the driver |
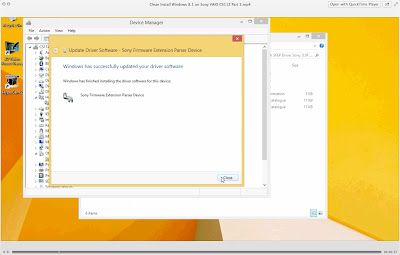 |
| One done, one more to go |
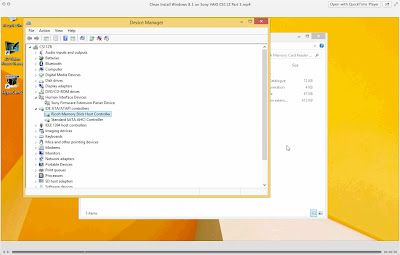 |
| Now both drivers installed |
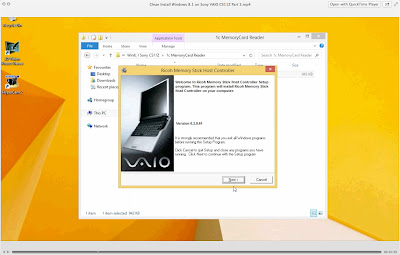 |
This time, Memory Card Reader need to update with latest driver
Step 6: Before install Sony Utilities Software, need to install .NET Framework 3.5 first. This can be obtain from Windows Features.
|
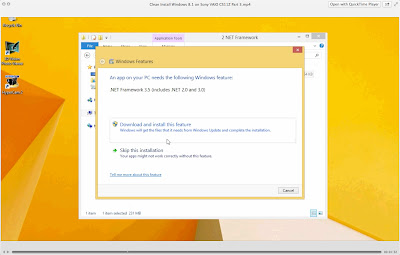 |
| Download and Install .NET Framework and then restart |
Step 7: Install Sony Shared Library and then restart. After that Install VAIO Event Service and restart
After this, Fn function will functioning like it should be.
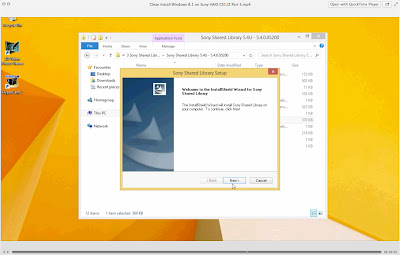 |
| Now Install Sony Shared Library and restart |
 |
Then install VAIO Event Service and restart
|
Step 8: Now to finalise the installation process, check for update and install update.
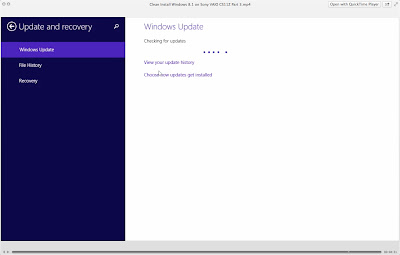 |
| Finally, check for update |
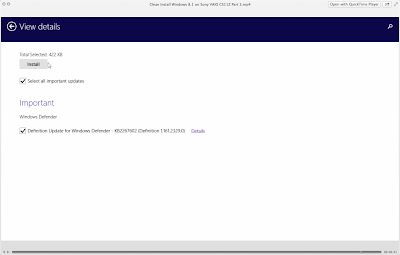 |
| Install update |
Now we are running Windows 8.1 on Sony Vaio VGN-CS11z/R
Thank you........


